


Flutter is a simple and high-performance cross-platform framework created by Google for building Android, iOS, desktop and also web applications all with a single codebase.
Awesome, right?

But before we can use this awesome framework we have to setup some things on our computer and I am going to provide a step by step guide.
Table of contents
- Setting up flutter
- Setting up Android Studio
- Setting up VS code
- Setting up your device
- Creating your first flutter project

Setting up flutter
Flutter is pretty easy to set up but install and run Flutter, your development environment must meet these minimum requirements:
- Windows 7 SP1 or later (64-bit), x86-64 based
- You must have at least 1.32 GB Disk space free
- Windows PowerShell 5.0 or newer (this is pre-installed with Windows 10)
- Git for Windows
Downloading the SDK.
Check the SDK archive page to download the latest SDK version here
Installing the SDK.
Create a new folder in C:\src and name it flutter (i.e C:\src\flutter)
Extract the SDK zip you downloaded into the the folder you created
After extracting the folder, you can run the flutter commands in the flutter console. To be able to run flutter commands on windows console you need to set up your environment variables.
Setting up your environment variables
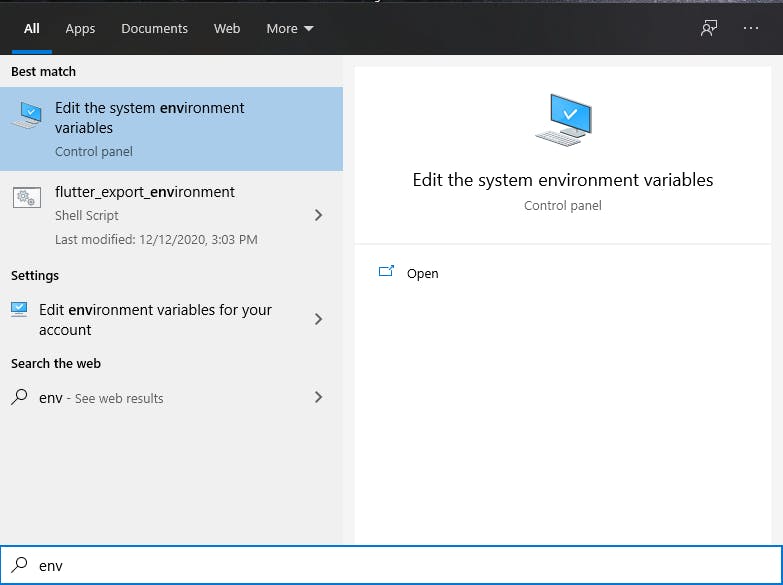
- From the windows search bar, enter ‘env’ and select Edit environment variables for your account.
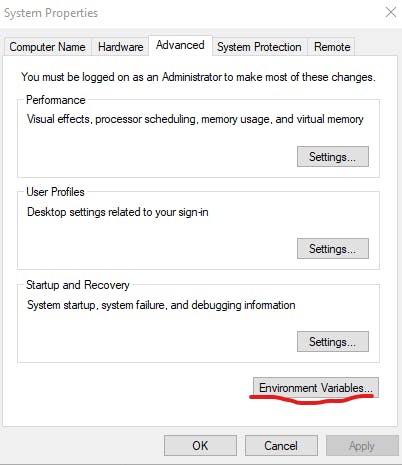
In system properties click on environment variables.
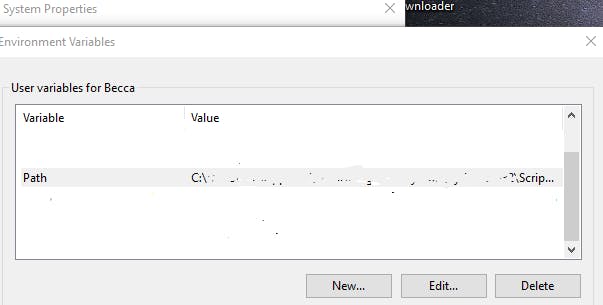
The Edit environment variable window will pop-up. Under user variables check if there is an entry called PATH:
If the entry exist, click on the path entry and then click on EDIT button below the variables. The Edit environment variable window will pop-up. Click the option New and add the path to the flutter\bin folder for example C:\src\flutter\bin. Then click ok.
If the entry doesn’t exist, click on NEW button below the variables to create a new user variable named Path and add the path to the flutter\bin folder
Note that you will have to close and reopen any existing console windows for these changes to take effect.
Checking if installation was successful
Run ‘flutter doctor’ command in CMD to see if there are any additional setup needed to complete the installation.
C:\src\flutter>flutter doctor
Setting up Android Studio
- Download and Install android studio from here.
- Start Android Studio, and go through the ‘Android Studio Setup Wizard’.
Installing the Plugins
- Start Android Studio
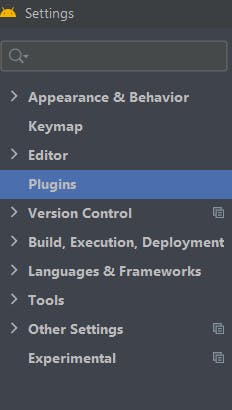
- Open plugin preferences (File > Settings > Plugins ).
- Search the repositories for the Flutter plugin and click Install.
- You'll be prompted to install the dart plugin click yes.
- Restart Android studio.
Setting up VS code
- Download and install Visual Studio Code.
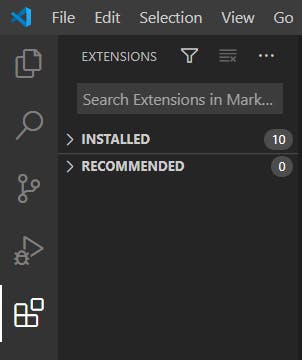
- Open VSCode and go to the extensions section. Search for Flutter and dart and install it.
Setting up your device
To prepare to run and test your Flutter app on an Android device, you need an Android device running Android 4.1 (API level 16) or higher.
Setting up your physical device.
Enable USB debugging. Learn how to enable USB debugging for your various devices here
Windows-only: Install the Google USB Driver.
Using a USB cable, plug your phone into your computer. If prompted on your device, authorize your computer to access your device.
In the terminal, run the flutter devices command to verify that Flutter recognizes your connected Android device.
Setting up an emulator
- Enable VM acceleration on your machine.
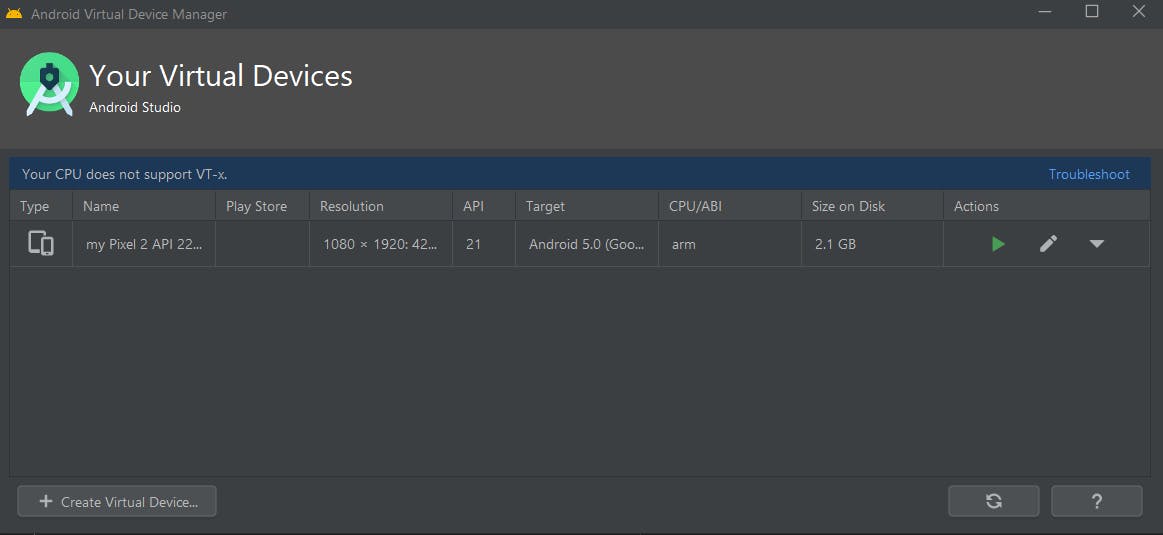
- Launch Android Studio, click the AVD Manager icon, and select Create Virtual Device.
Note: If you do not have a project open, you can choose Configure > AVD Manager and select Create Virtual Device.
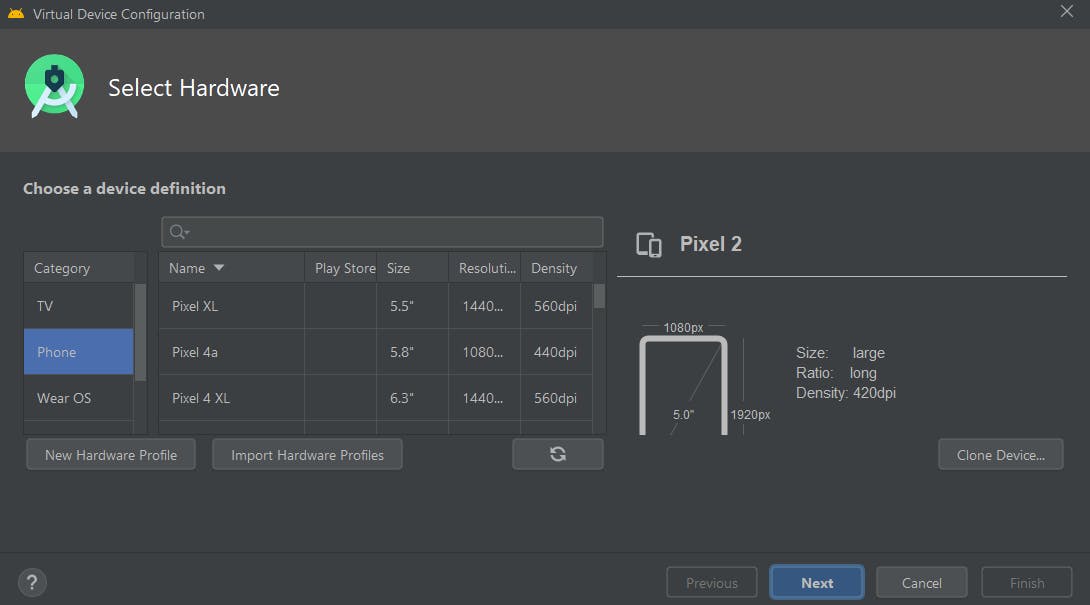
- Choose a device definition and select Next.
- Select one or more system images for the Android versions you want to emulate, and select Next. An x86 or x86_64 image is recommended.
- Under Emulated Performance, select Hardware - GLES 2.0 to enable hardware acceleration.

Verify the AVD configuration is correct, and select Finish.
In Android Virtual Device Manager, click Run in the toolbar. The emulator starts up and displays the default canvas for your selected OS version and device.
If you got it up to here
 Congratulations! You can now use flutter on your computer!
Now let's create our first app with flutter.
Creating your first flutter project
Android Studio
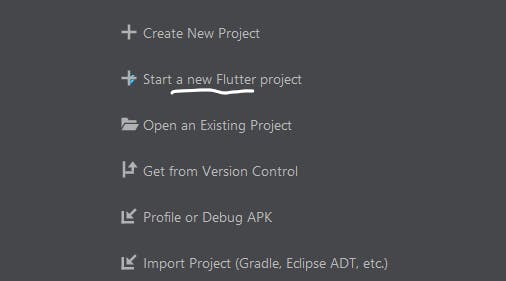
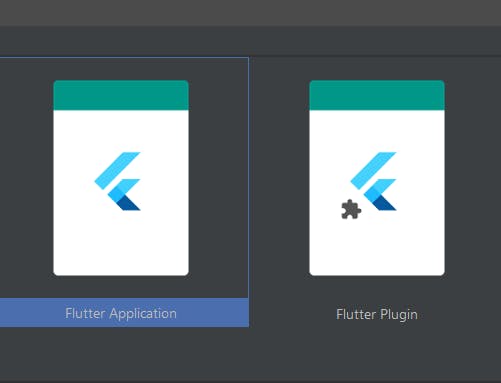
- Open the Android Studio and select start a new Flutter project.
- Select Flutter Application then click next.
- Verify the Flutter SDK path specifies the SDK’s location (Install SDK if blank).
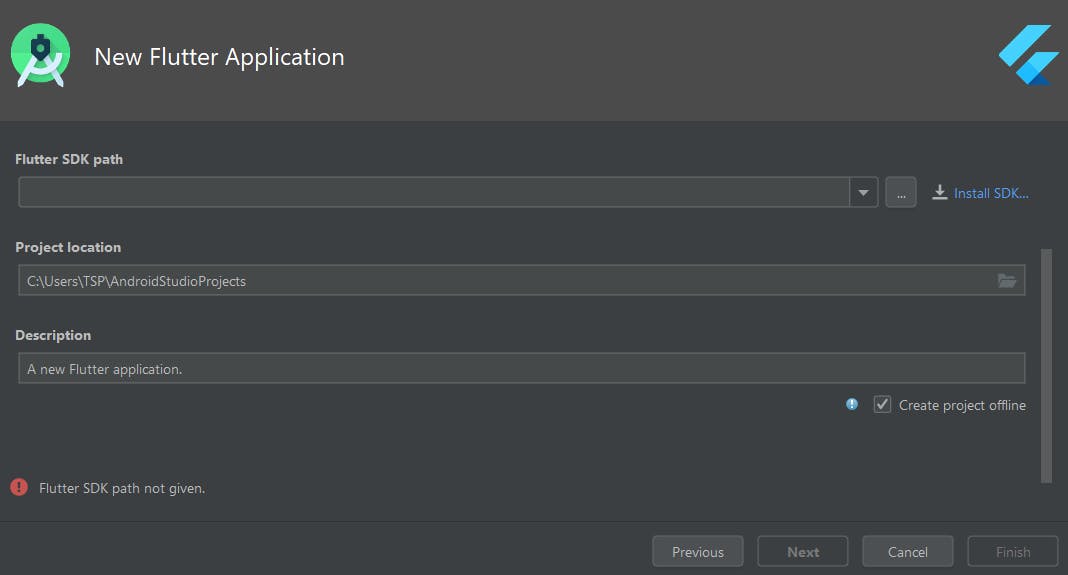
Enter a project name (the name you'd like to call your app) then click Next.
Click Finish.
Wait for Android Studio to create your project and that's all.
VS code
- Click on view>Command palette

- Search for flutter and select flutter: new project
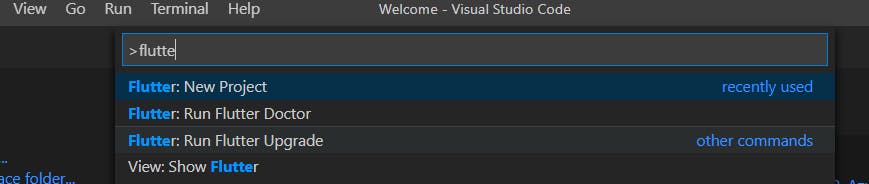
- Chose a name for your app

Running your app for the first time
For android studio, click on the play button and for VS code press F5 and you are ready.
Welcome to the world of widgets!